
What Is The Best Spray Wax?

What if I told you the best spray wax doesn’t exist? For those of you who are professional car detailers or enthusiasts, you’ll probably think I’m crazy for making that statement. Or, for those of you who are new to the car detailing game, you’ll want to know if there isn’t a spray wax that’s the best - what product out there is going to give me the best paint protection and shine? I’m going to tell you right now it’s my drying aid.
Before I dive deeper into why drying aid (or topper) is a better option, I want to mention how important it is first to protect your car’s paint with a ceramic coating. A drying aid by itself can work well for protecting your car’s paint while giving you the hydrophobic properties (water-repellency) that you’d experience with a coating, but it on its own will only last you a short while. I’d highly recommend coating your vehicle before putting drying aid to use.
Why Should You Stay Away From Spray Waxes
Spray waxes are tricky. Yes, it’s easier to apply than a liquid car wax, and yes, it does provide a suitable shine, but in comparison to a coated car with drying aid, it’s no match.
A few reasons to stay away from a spray wax:
- Whitens black trim. Unless you’re planning to tape off your car’s trim with masking tape when applying spray wax (which will take you more time), you will experience it turning white.
- Lifespan. I’ve had hands-on experience with spray waxes, and the longest I’ve seen them last is maybe two weeks. So, don’t think you’re getting long-lasting protection with this stuff because you’re not.
- Wiping off can be more difficult. A wax hardens when applied to any surface, which will require you to buff it off. On the other hand, a drying aid is a spray sealant that you simply spray and wipe off right away with no leftover residue.
Why You Want a Drying Aid
I’ll do my best to contain myself from being too wordy out of sheer excitement about our Drying Aid. First off, my goal is not to make private label products. Now, of course, besides the Obsessed Garage Drying Aid and our tire dressing, I don’t intend on bringing in any more household products. Key phrase, “I don’t intend on.”
How did this drying aid come about? I know I wanted something that was easier to apply without sacrificing performance. Nothing on the market impressed me. So, I decided to make the OG Drying Aid myself. The biggest two things I wanted in this product was 1) I didn't want any discoloration in my spray bottle and 2) I’m not a baby, so I don’t need it to have a fragrance - I just need it to work. With other spray sealants I've used, I was able to see staining on the underbody clearcoat where my front lip was after ripping it off backing out of my garage. That’s what solidified it for me when I wanted the color taken out.
I tend to lean more towards barebone products, not products with a lot of fluff. This drying aid is just a simple product that does what I want it to do. We now have an unscented/no color solution that adds lubrication and protection to your car’s paint and other surfaces. Over time, you will experience a vinegar smell with this stuff, but as long as you’re not shoving your nose in it, you won’t even notice it.
Reasons you need the OG Drying Aid:
- You won’t have to use as much. Some other spray waxes and sealants on the market require you to use quite a bit of product to get the results you want. With our drying aid, you only need a couple of spritzes on each panel of your car’s paint to get the protection and deep, shiny gloss we all want to see.
- Less or no issues with smearing and spotting. We’ve gotten a ton of feedback from our community when using other spray sealants. What many of them experienced was smearing and spotting. Now, of course, I’m working in an airconditioned, humidified garage, so I didn’t witness these effects. However, when I washed my GT4 outside, I was able to see what everyone was talking about - that’s when reality hit me, and I got to work to bring in a better solution.
- A much better user experience. This drying aid has minimal, if any, pain points. I find myself getting through the drying process fairly quickly without any leftover residue post drying. We’ve gotten nothing but positive feedback with this stuff. So, until something better comes along, we’ll be using this for the foreseeable future.
I don’t use this as a standalone product or a detail spray. I’m using it as a lubrication agent and adding a sacrificial layer of protection on my ceramic coating that I expect to last a week or two. Tommy (our Product Solutions Director) experimented with this drying aid without any car polishing procedures (paint prep, clay bay, etc), and it lasted him two months. Now, of course, we’re in Florida, so our conditions may be different from yours, especially if you’re up north or in colder climates. I would still suggest you wax or coat your car to get the full benefits out of this drying aid.

Application
Once you’ve finished washing your vehicle with a high-quality, pH-neutral car wash soap and dried it off, you’re going to bring in your drying aid. I’ve mentioned this before - I’m using our Pressol Household Double Action Sprayer for this process. Here’s how it works:
- Dry your vehicle off. I like to use the EGO 650 CFM Blower with our stubby nozzle to blowdry the water off the car’s surface and wheels. If you’re sensitive to shrilling sounds, you’ll want to wear some ear protection when using this blower.
- Apply drying aid and wipe off. You don’t have to layer this stuff on thick. Just spritz and wipe off. Even with some water leftover on the surface, you can still use this drying aid—one of the many things that make it freaking great. This stuff works in conjunction with microfiber towels. When wiping it off, I like to use my new process that entails (1) one high-pile drying aid microfiber towel and (1) one low-pile drying aid microfiber towel. I generally start at the top of my vehicle and work my way down. If you’re in perfect conditions (inside a garage with AC or a humidifier), you can spray larger sections. If you’re working outside, I’d suggest working in smaller areas. You can also use this stuff on your windows and trim.
- Spray your door jams and engine bay. I’ll use my low pile drying towel to get in all the nooks and crannies of the jams. Don’t neglect this part of the drying aid process. It takes you an extra few minutes to dial it in. I will then use the same low pile microfiber towel that has the product on it to wipe down my engine bay.
- Apply to the surface of wheels. At this point, your wheels should be pretty dry. It’s okay if you spritz some on your rotors, but I would suggest not spraying directly on it. Once you’ve sprayed some on your wheels, you’d grab one of our wheel & tire microfiber towels and wipe it off. If you want to get the best results using this drying aid on your wheels, be sure to grab the wheel coating products we sell, CARPRO DLUX and Gliss. These both work in tandem, protecting your wheels from dirt buildup while at the same time making it super easy to clean them.
This product is some variant of water and silicon dioxide. If I am being frank, I don’t care what’s in it as long as it works.
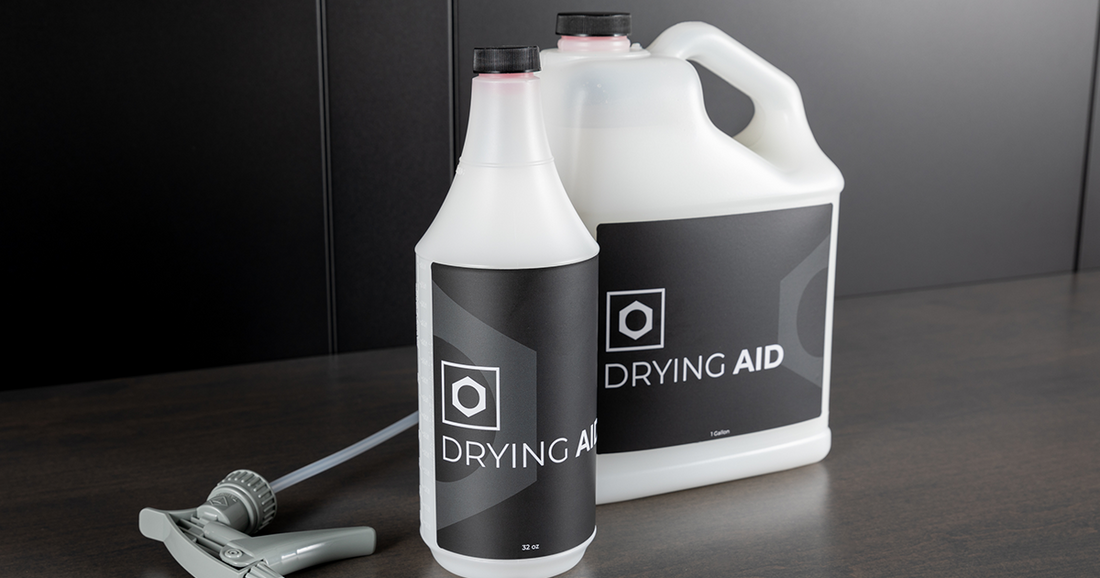
Don’t overthink this stuff. It’s a simple product with a simple application. Grab yourself a 32 oz bottle if you want just to test it out and then grab a gallon. I’m telling you, you’re going to love it.
