Under Cabinet Light Joiners

SKU: ML-LB-BBC
Under Cabinet Light Joiners

Under Cabinet Light Joiners

SKU: ML-LB-BBC
Type
Regular price $2.26
/

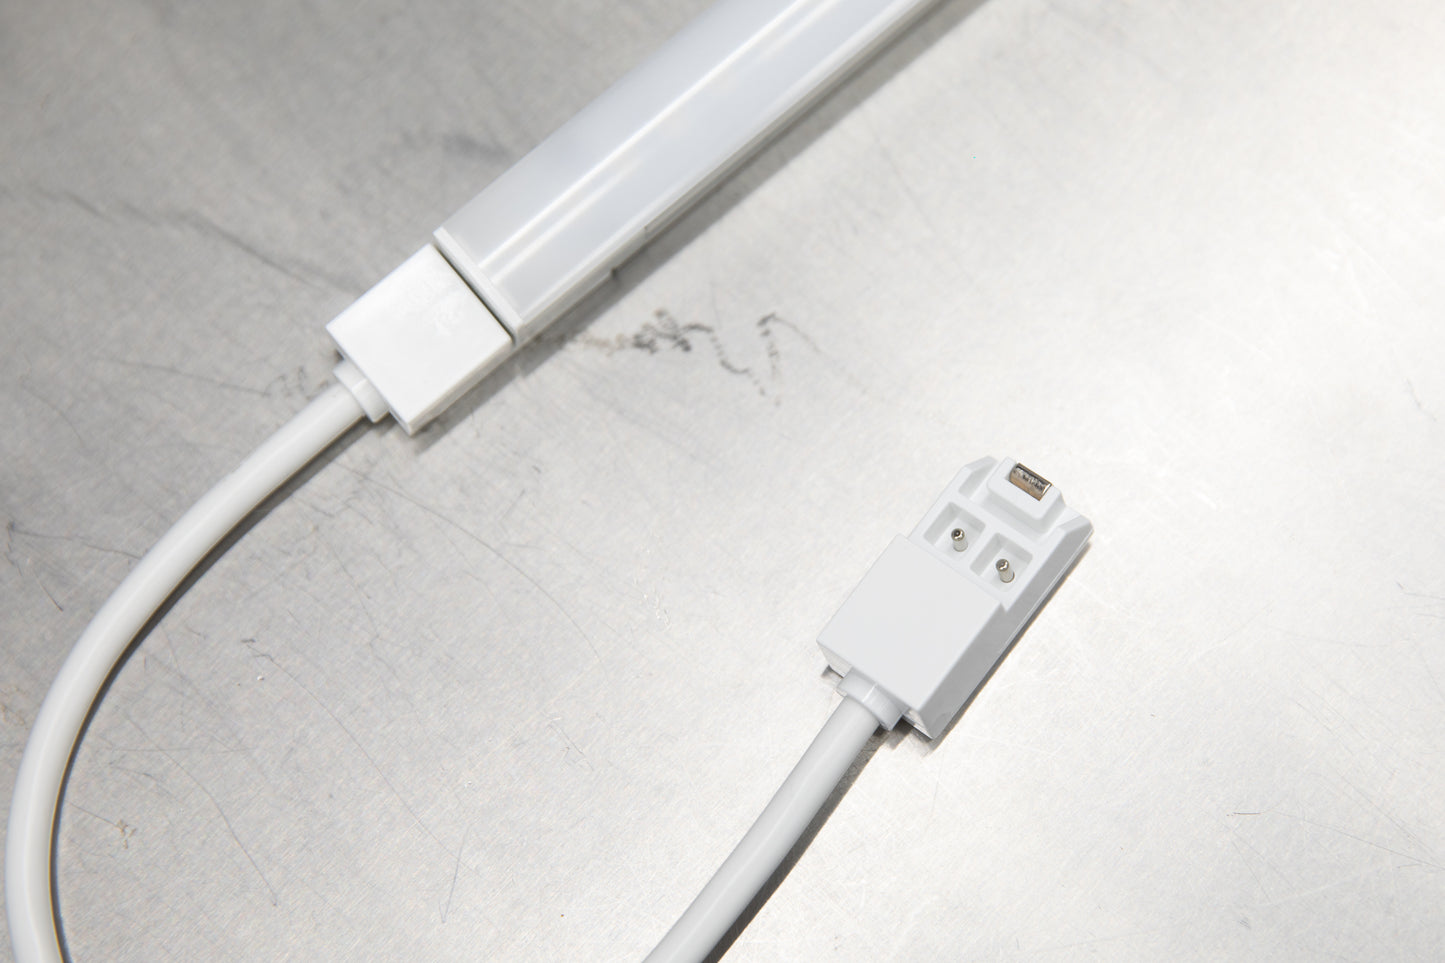
My garage lighting solution will give you both proper illumination and guaranteed satisfaction. What I’ve found with other lighting applications is they need ballasts and connecting them together is not a fun process. What makes this solution so great is the ease of installation - these joiners make it easy to link lights together. Just push the lights into the joiner and you’re good to go!

To learn more about the installation of the under cabinet lights please read the Installation Tips tab.

Joiner that connects two lights together. 

Options:

Straight Joiner
Connect two lights directly to each other in one line.

Right Turn Joiner
Connect two lights directly to each other at a 90° angle to the right.

Left Turn Joiner
Connect two lights directly to each other at a 90° angle to the left. 

Wire Joiner
Connect two lights together using a wire joiner. This can be used to connect lights at any angle you want or to jump a space.

You can connect up to 40’ of lights off of one power source. Any more than that and you’ll need to add another power source.

Installation Tips

If you haven’t watched the video from the Story tab, please watch it first. This gives you the best idea of what to expect when installing. 

If you are installing our under cabinet lighting solution under Saber and Sonic MSS Cabinets, it is recommended that you drill through the sides of the cabinet. This allows you to have an unbroken line of light. You will need to use a step-bit and drill a hole that is 1-⅛” in diameter. For my Saber array at my house, the center of the hole was drilled 2 inches from the front of the cabinet. At the OGHQ Sonic MSS array, the center of the hole is 1-¾” from the front of the cabinet. You can adjust where the hole is drilled if needed based on what you think is best.

I drilled the holes for the lights after the cabinets were already installed. I don’t recommend doing this, especially for the Sonic MSS cabinets. It will be much easier to drill the holes with the cabinets not installed already. 

If you are installing these under Sonic MSS+ Cabinets, you won’t need to drill through the cabinets; there is already a hole for the lights to pass through.

Installing the lights themselves and getting them powered up is super simple. These are self-powered and can either be hardwired or plugged into an outlet.

Use the Under Cabinet Light Joiners to connect a series of lights together. Just push the lights into the joiner and you’re good to go.

Use the Magnetic Mounting Clips to hold the lights to the bottom of the cabinet.

x1 Under Cabinet Light Joiner

This item is shipped from our warehouse at OGHQ in Lady Lake, FL. Shipping costs calculated at checkout.


ETA Information: