


Another essential piece to your garage that you’re going to need is quality Under Cabinet Lighting. There’s nothing worse than standing in your work area and having to deal with low, crappy light. The industry is filled with subpar lighting solutions that are unacceptable in my mind and should be in yours as well.
I’ve searched relentlessly to find what you and I both need to make our garage experience an OG one. A few things that make these lights super legit is that they’re easy to set up/mount, have superior quality (no other light comes close - trust me), are 5000K (think daylight), and no ballasts needed (self-powered). You have the option to hardwire these or plug them directly into an outlet. No transformer or AC to DC converter needed. The culmination of these essential features make for what I believe to be the perfect Under Cabinet Lighting solution.
These lights come in various sizes to fit anywhere you want. So, when planning out your custom look, explore all possibilities. Having the ability to tailor these to my liking was a key prerequisite before bringing them into my store.
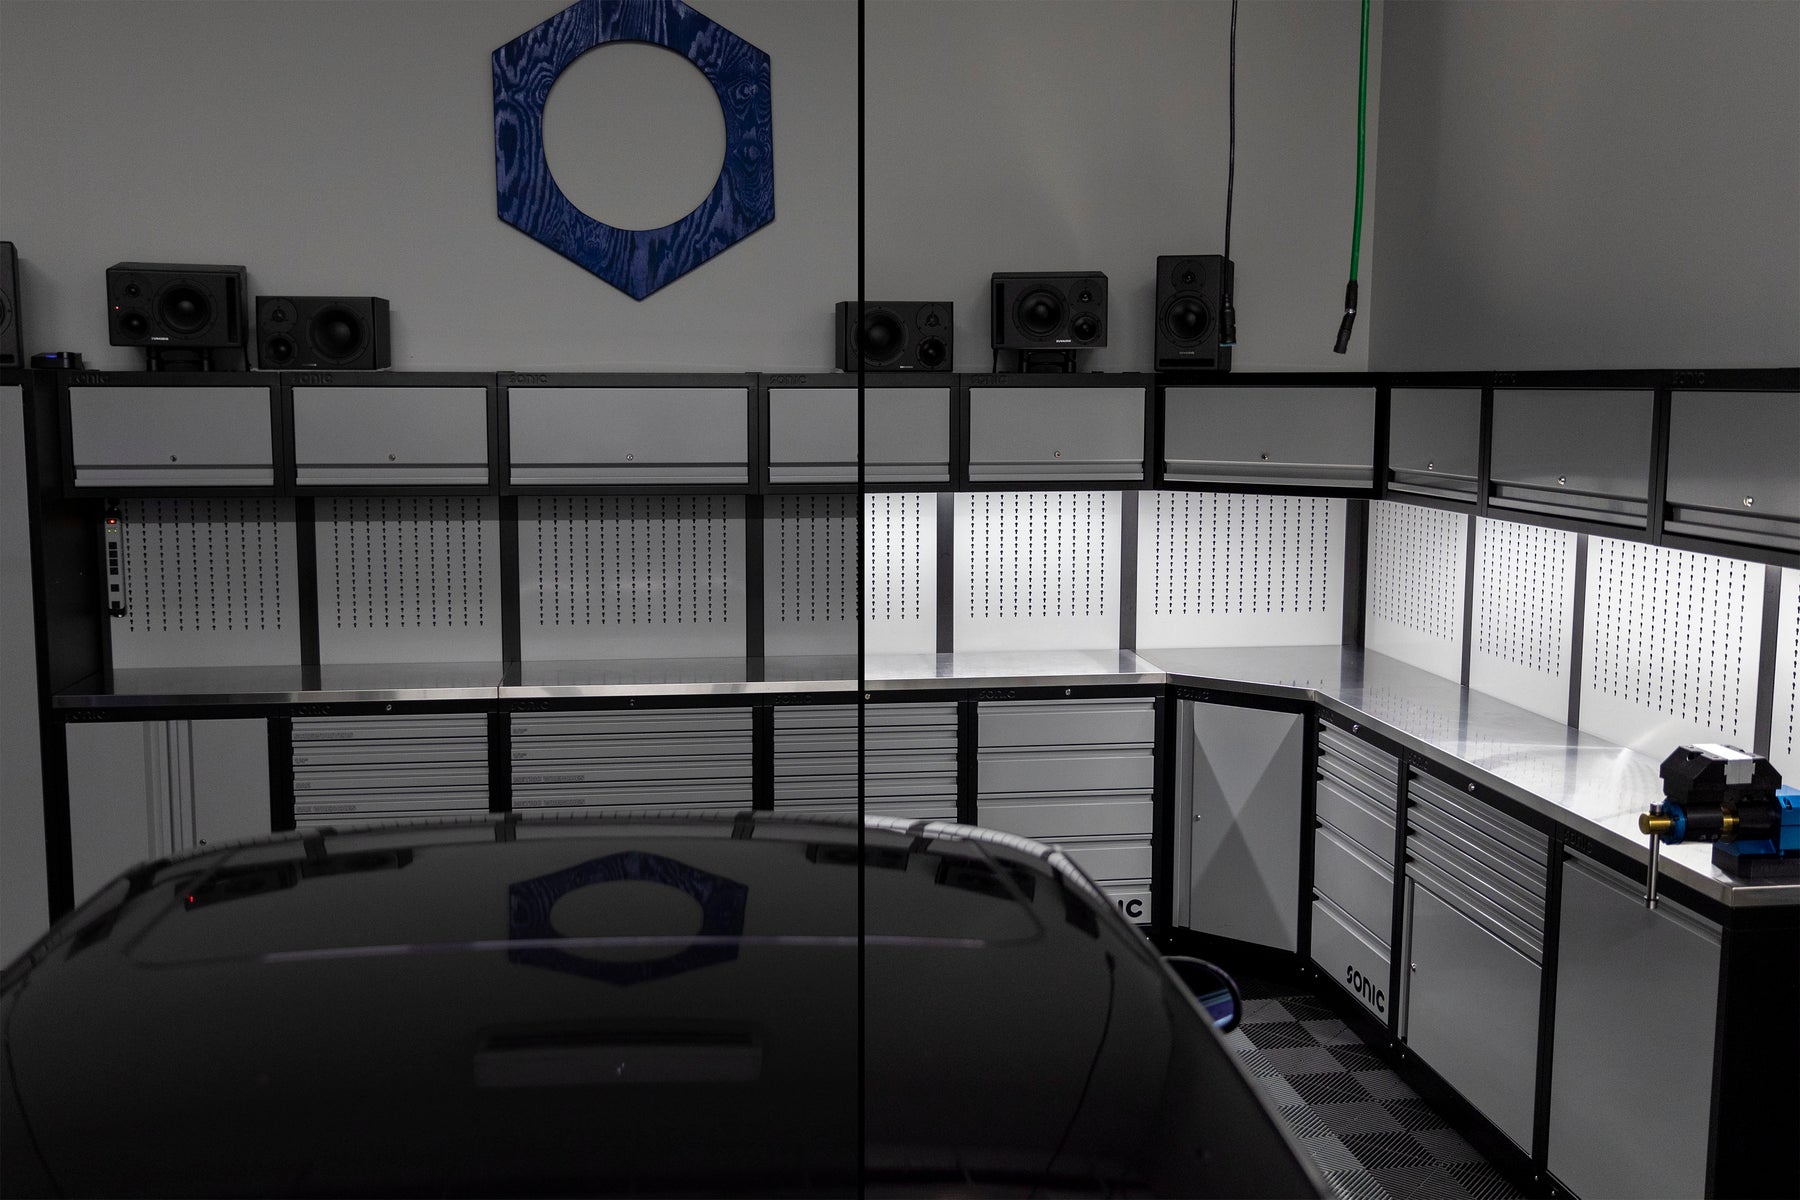
Some of you may be wondering what my array looks like - what my electrician and I had to do was drill holes through the side of my Saber cabinets. This allowed us to get an unbroken line of light and a clean, flushed look. I mentioned this before that you’ll be able to either hardwire these lights or plug them directly into an outlet. Because I have multiple lights connected to each other, I used Joiners. These allow me to connect as many or as few lights as I want. What’s really cool is that I’m using magnetic mounting clips to get a more secure adherence to my cabinets.
To learn more about the installation of the under cabinet lights please read the Installation Tips tab.
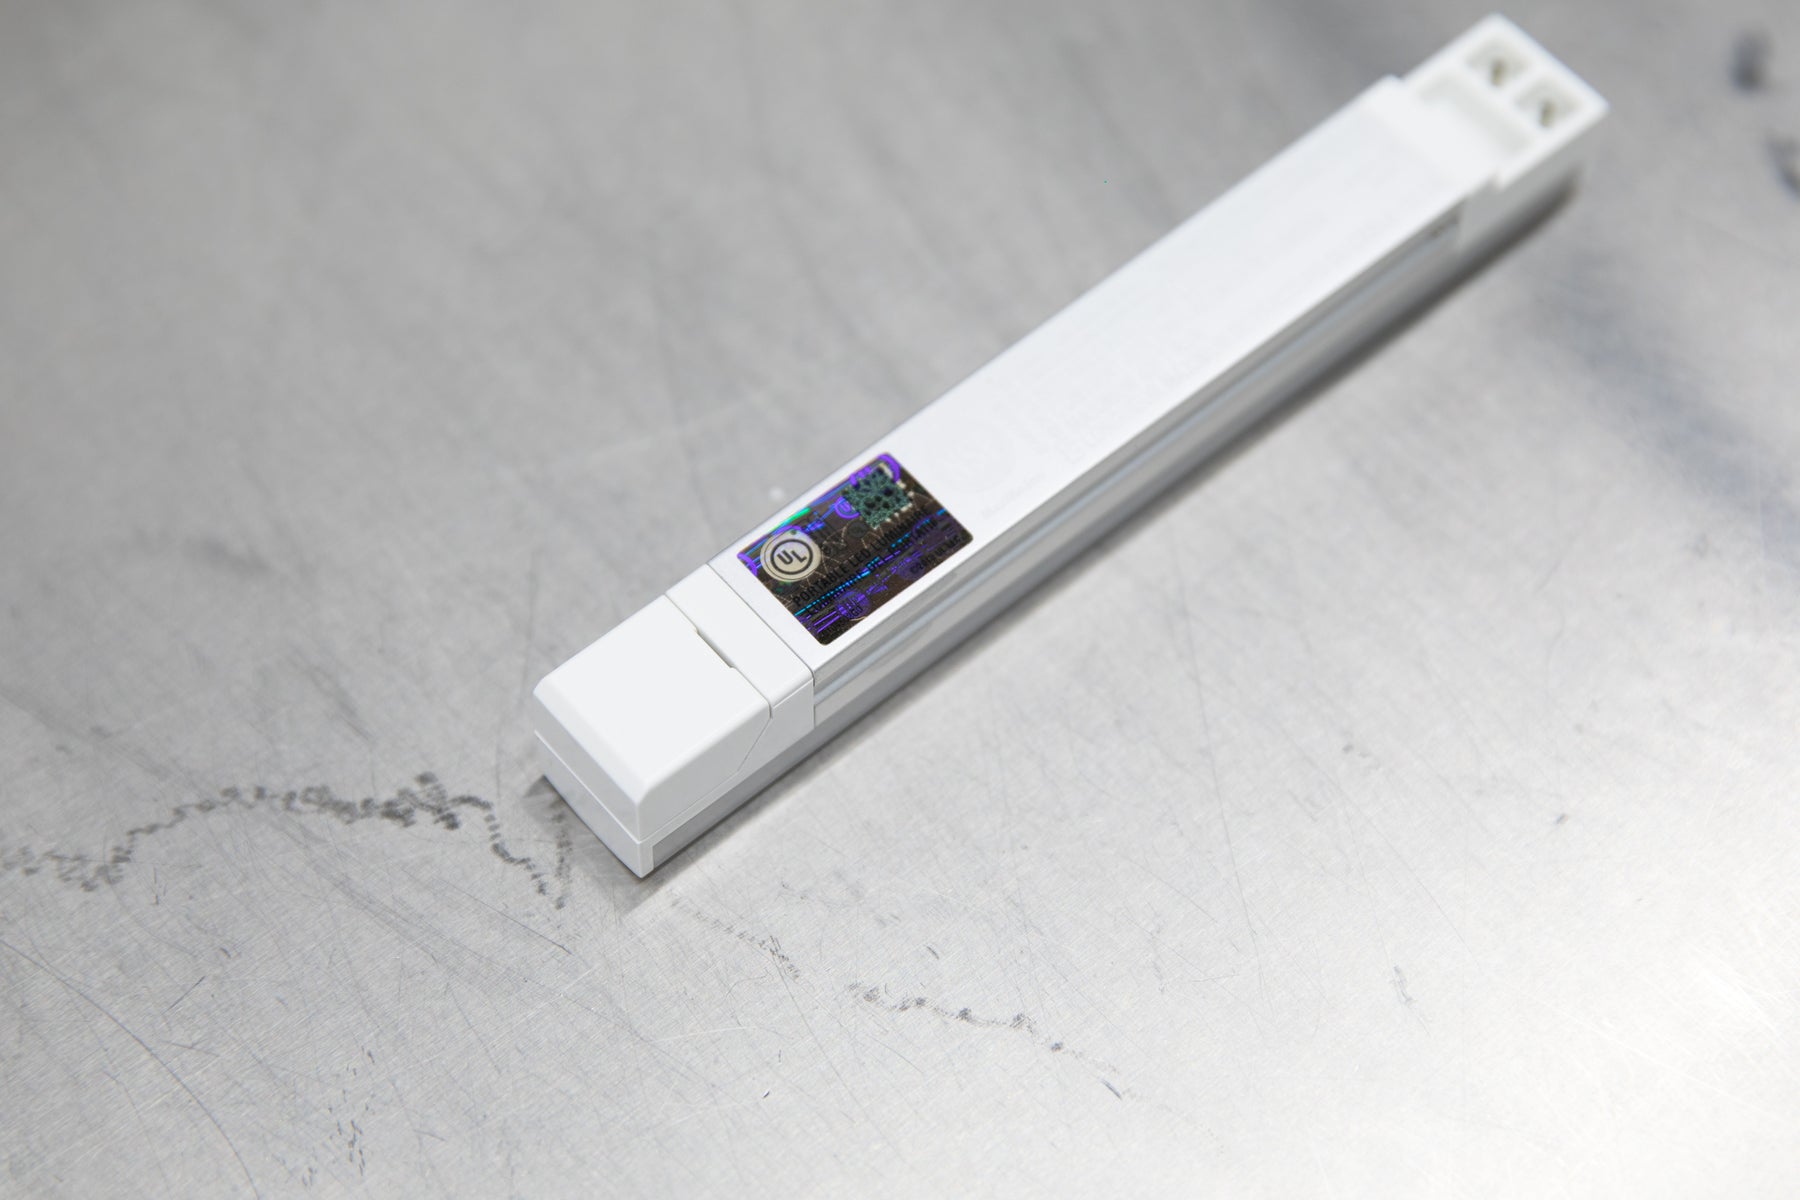
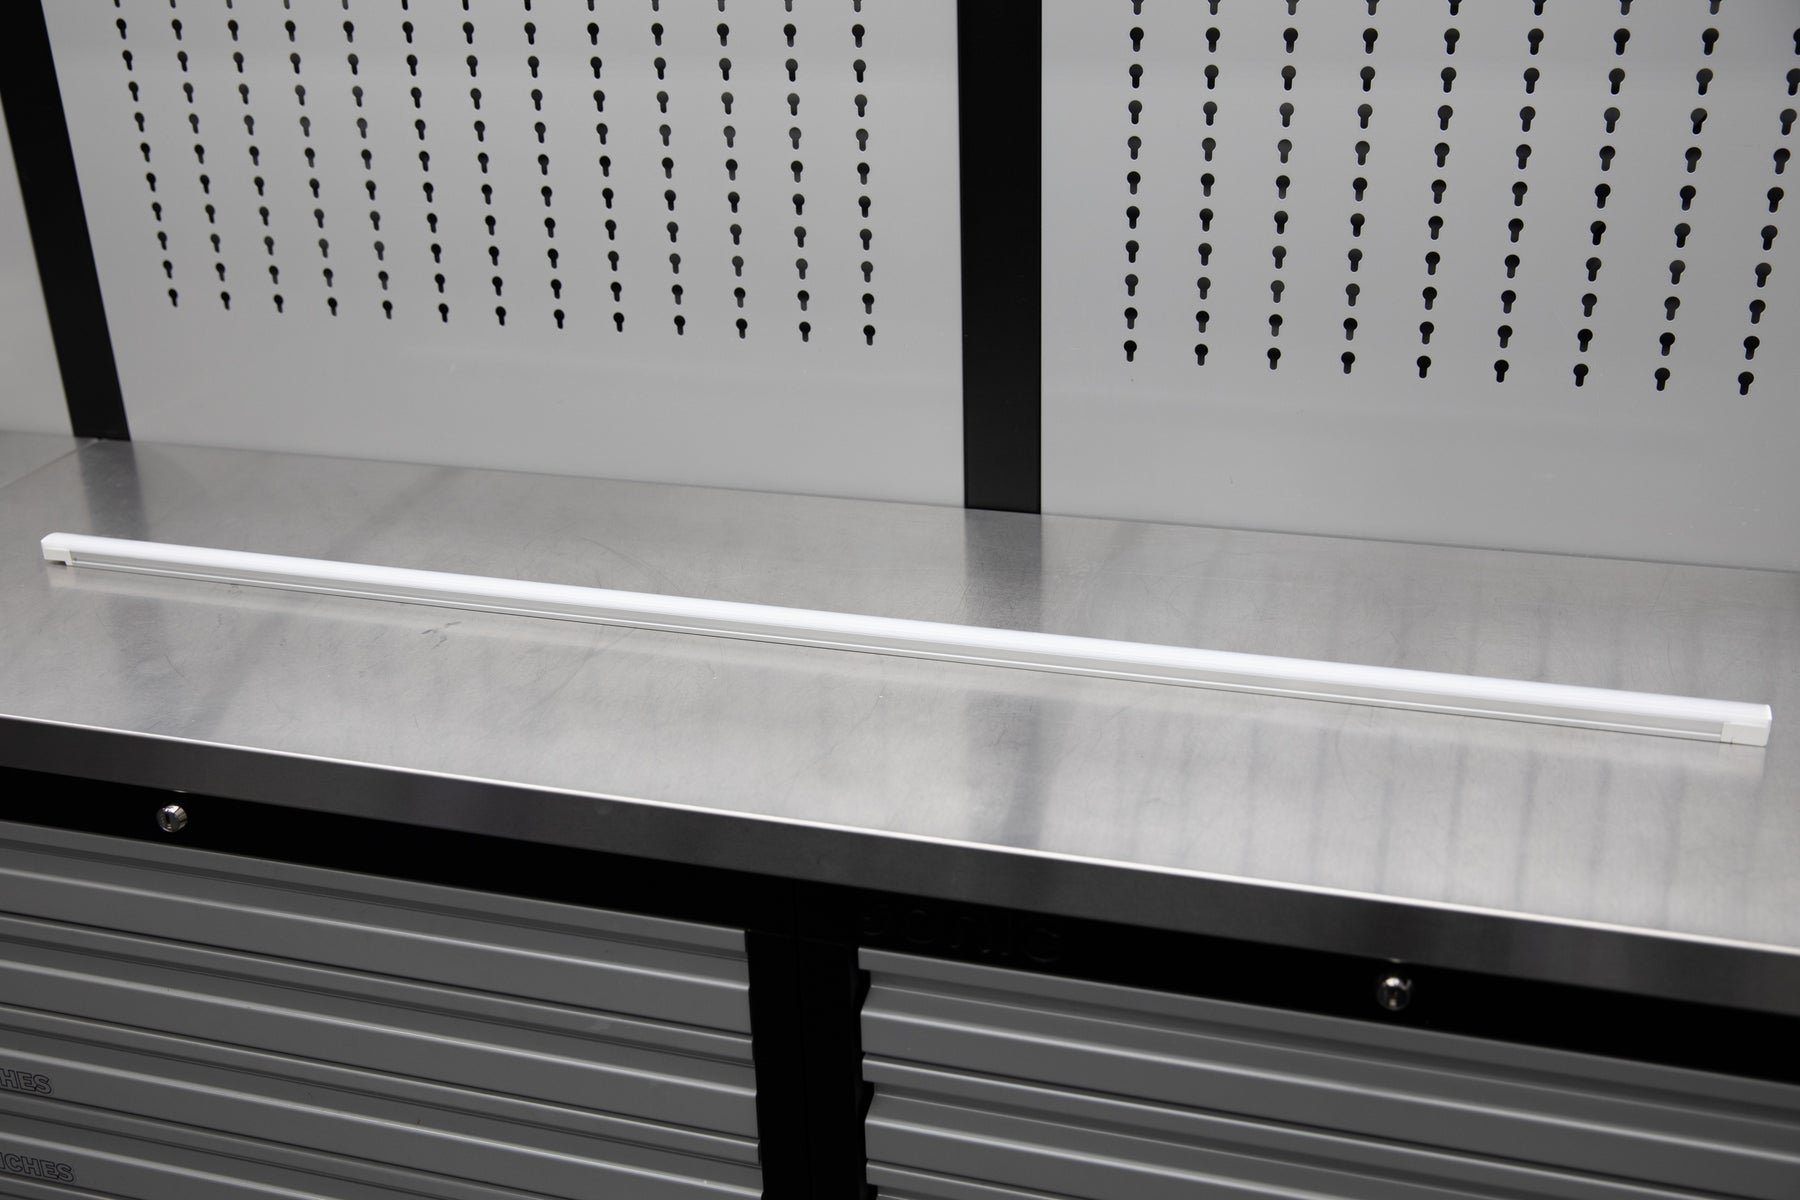
Undercabinet Light
High quality, self-powered, easily linkable
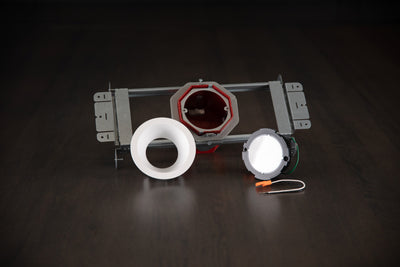
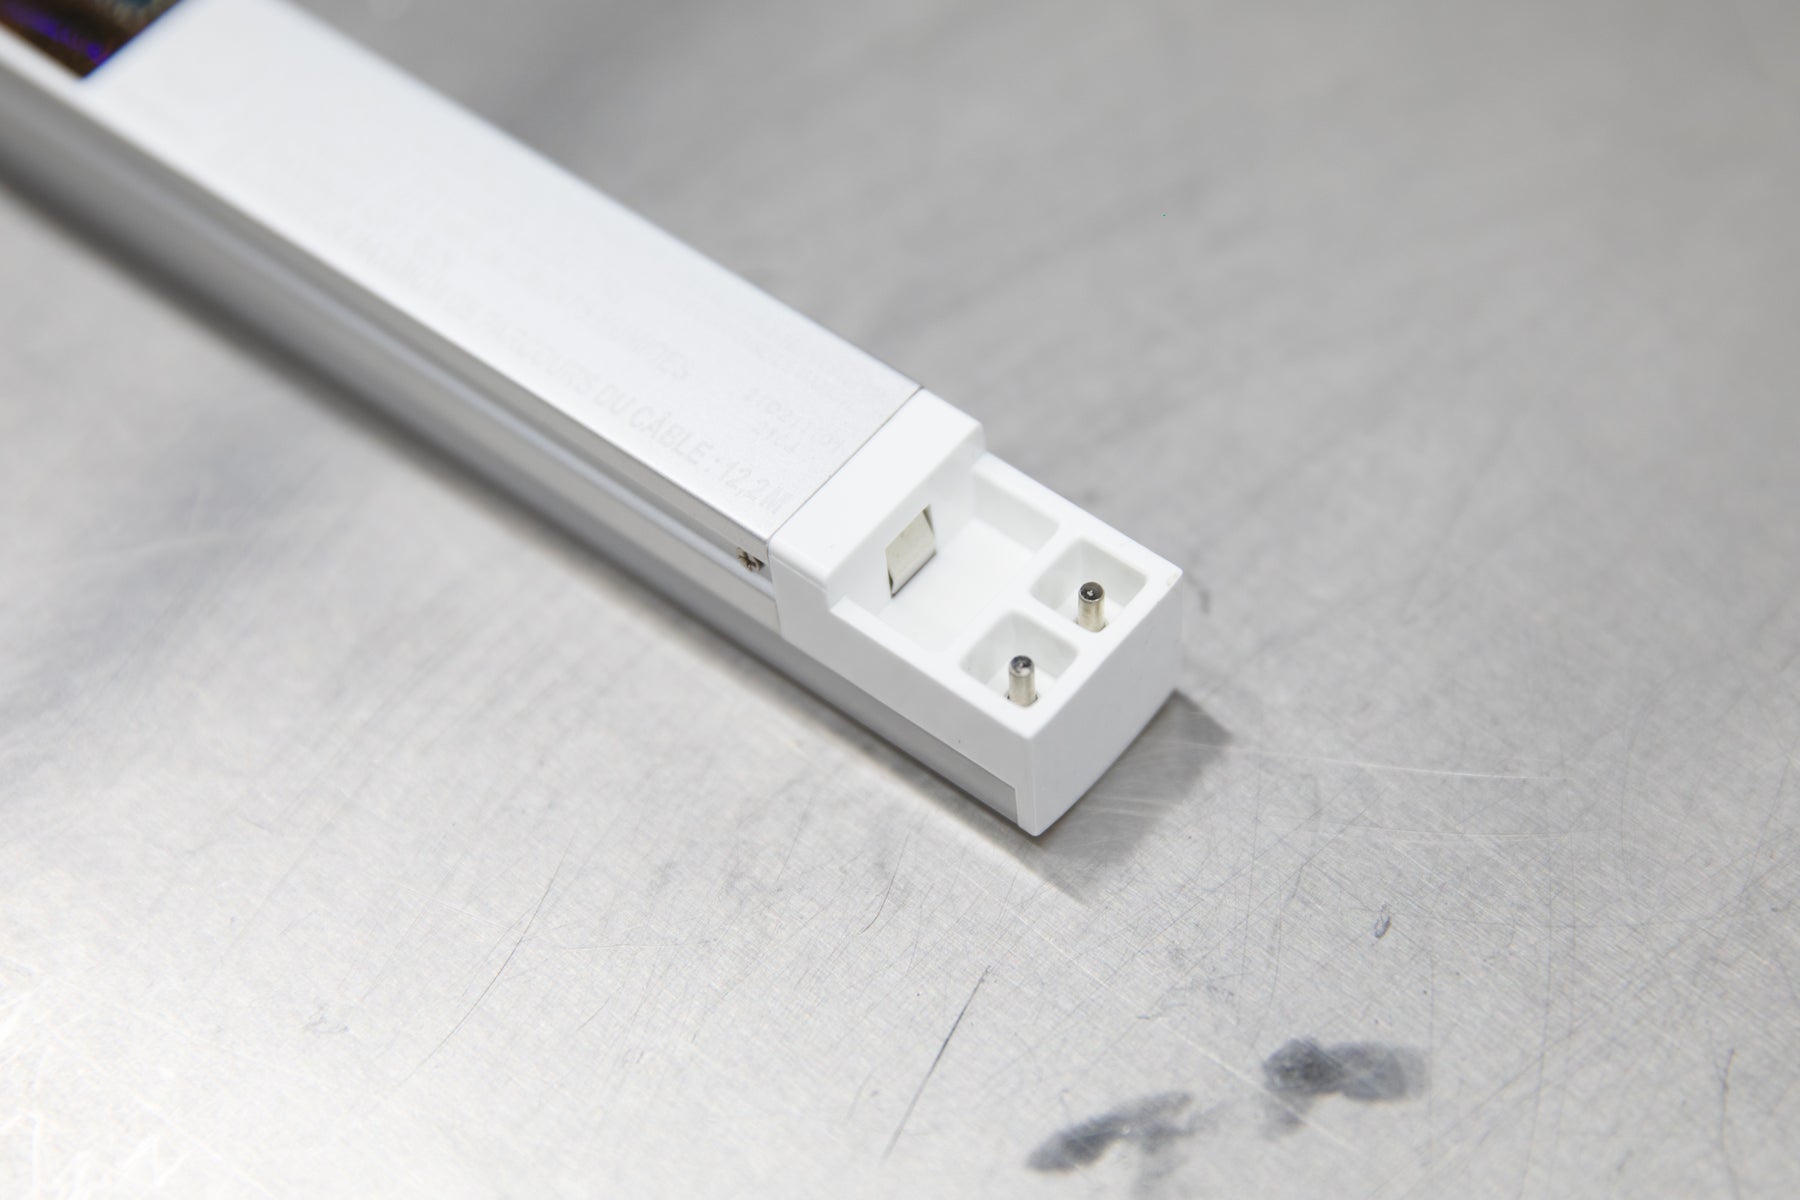
Lights do not come with a lead for power, you must use either of these options.
1. Power Whips/Cords
2. Connector Box
To connect/link lights together you need to use joiners.
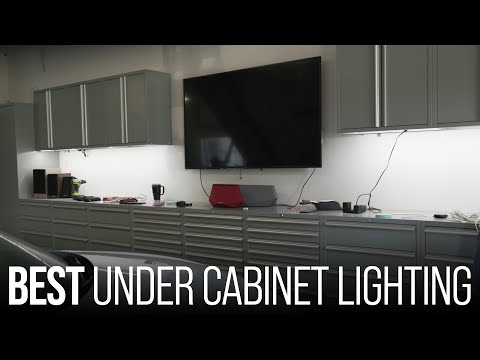
For more info visit the Installation Tips tab & watch the video in The Story.
Options
Lengths Available - 6”, 12”, 24”, 36”, 48”
Select the length of light you need. If you want to drill through the cabinets, you’ll likely want to use the 36” and 48” lengths. If you don’t want to drill through your cabinets, you will want to use the 24” length.
Color Temperature - 5000K | Daylight, 3500K | Neutral White Light
For the garage, you will want the 5000K lights. Select 3500K for an office or kitchen application.
Specifications
Undercabinet Light
- 80 CRI
- 108° Beam Angle
- Lumens: 6” - 148, 12” - 341, 24” - 657, 36” - 987, 48” - 1,330
- Dimmable - 20% - 100%
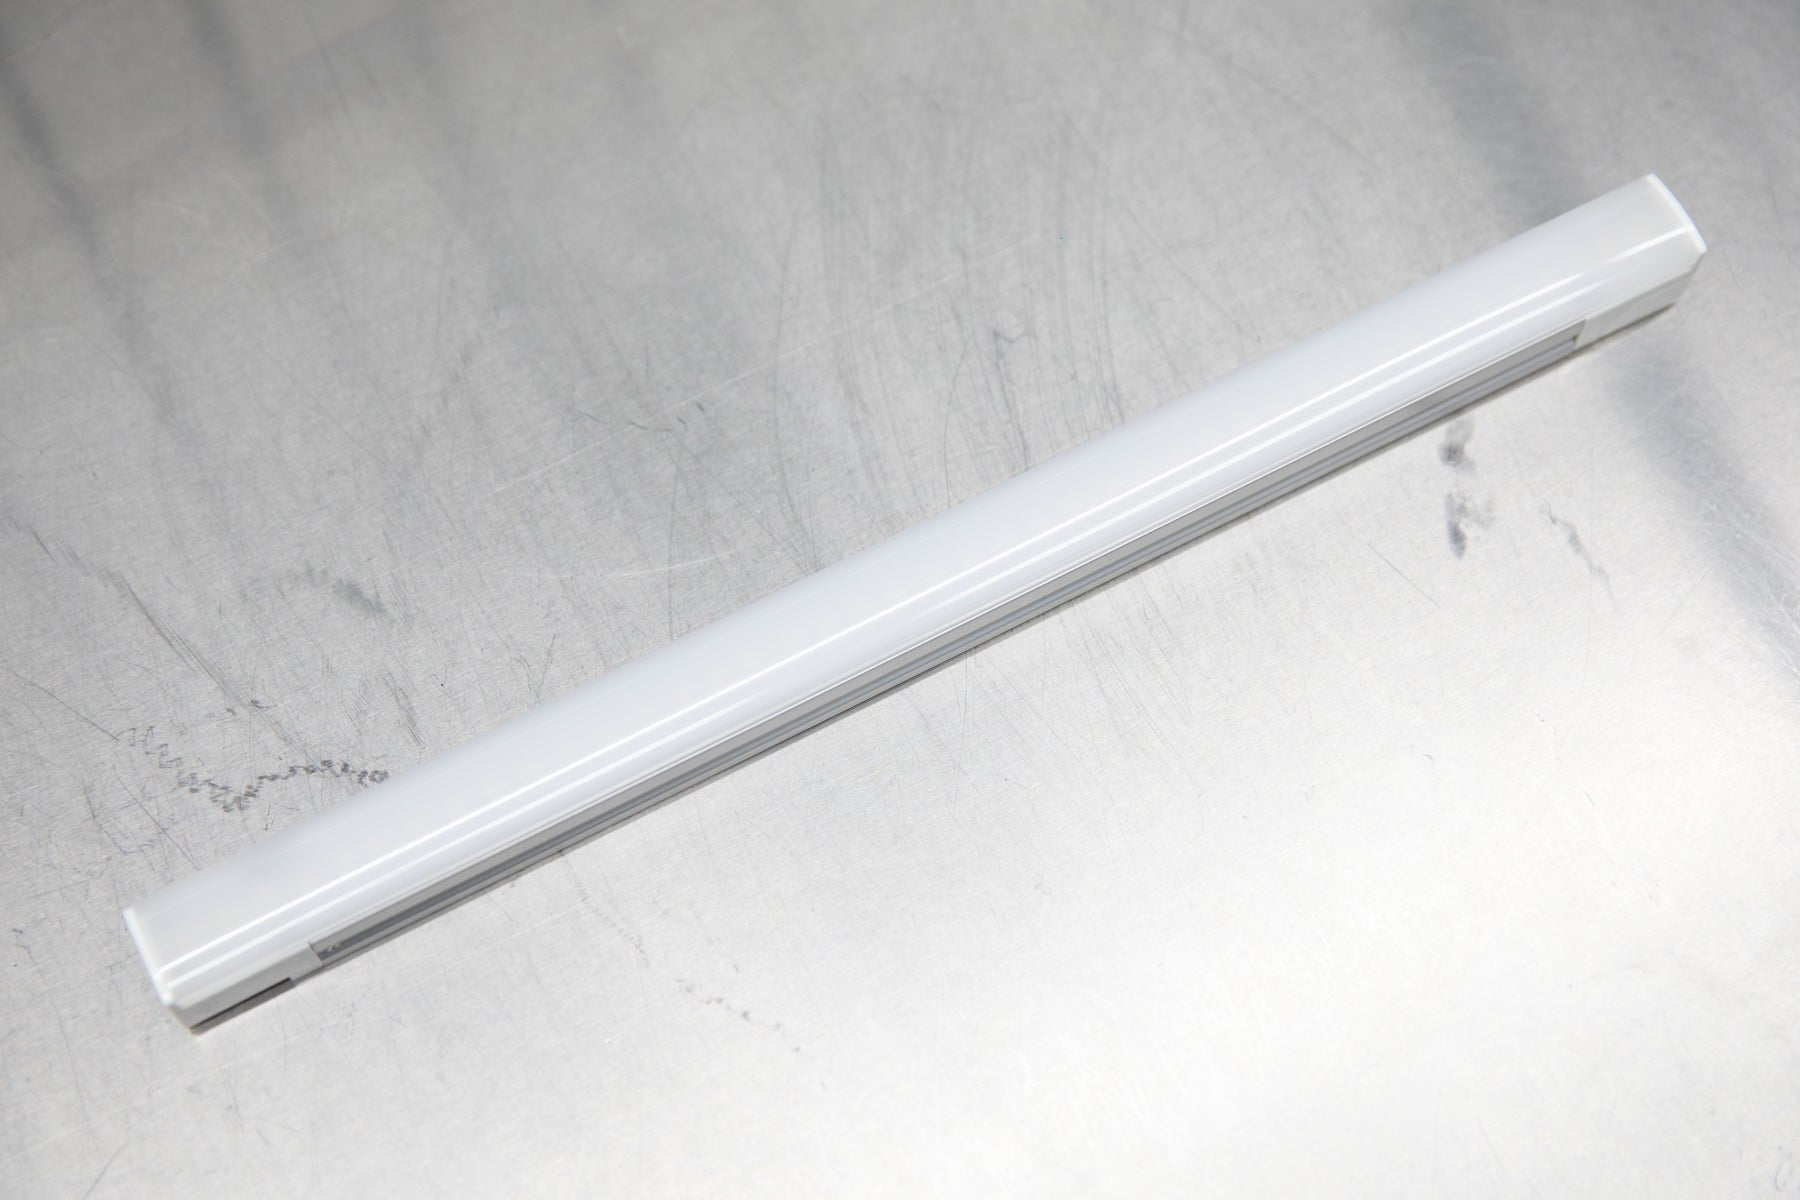
- Frosted Lens
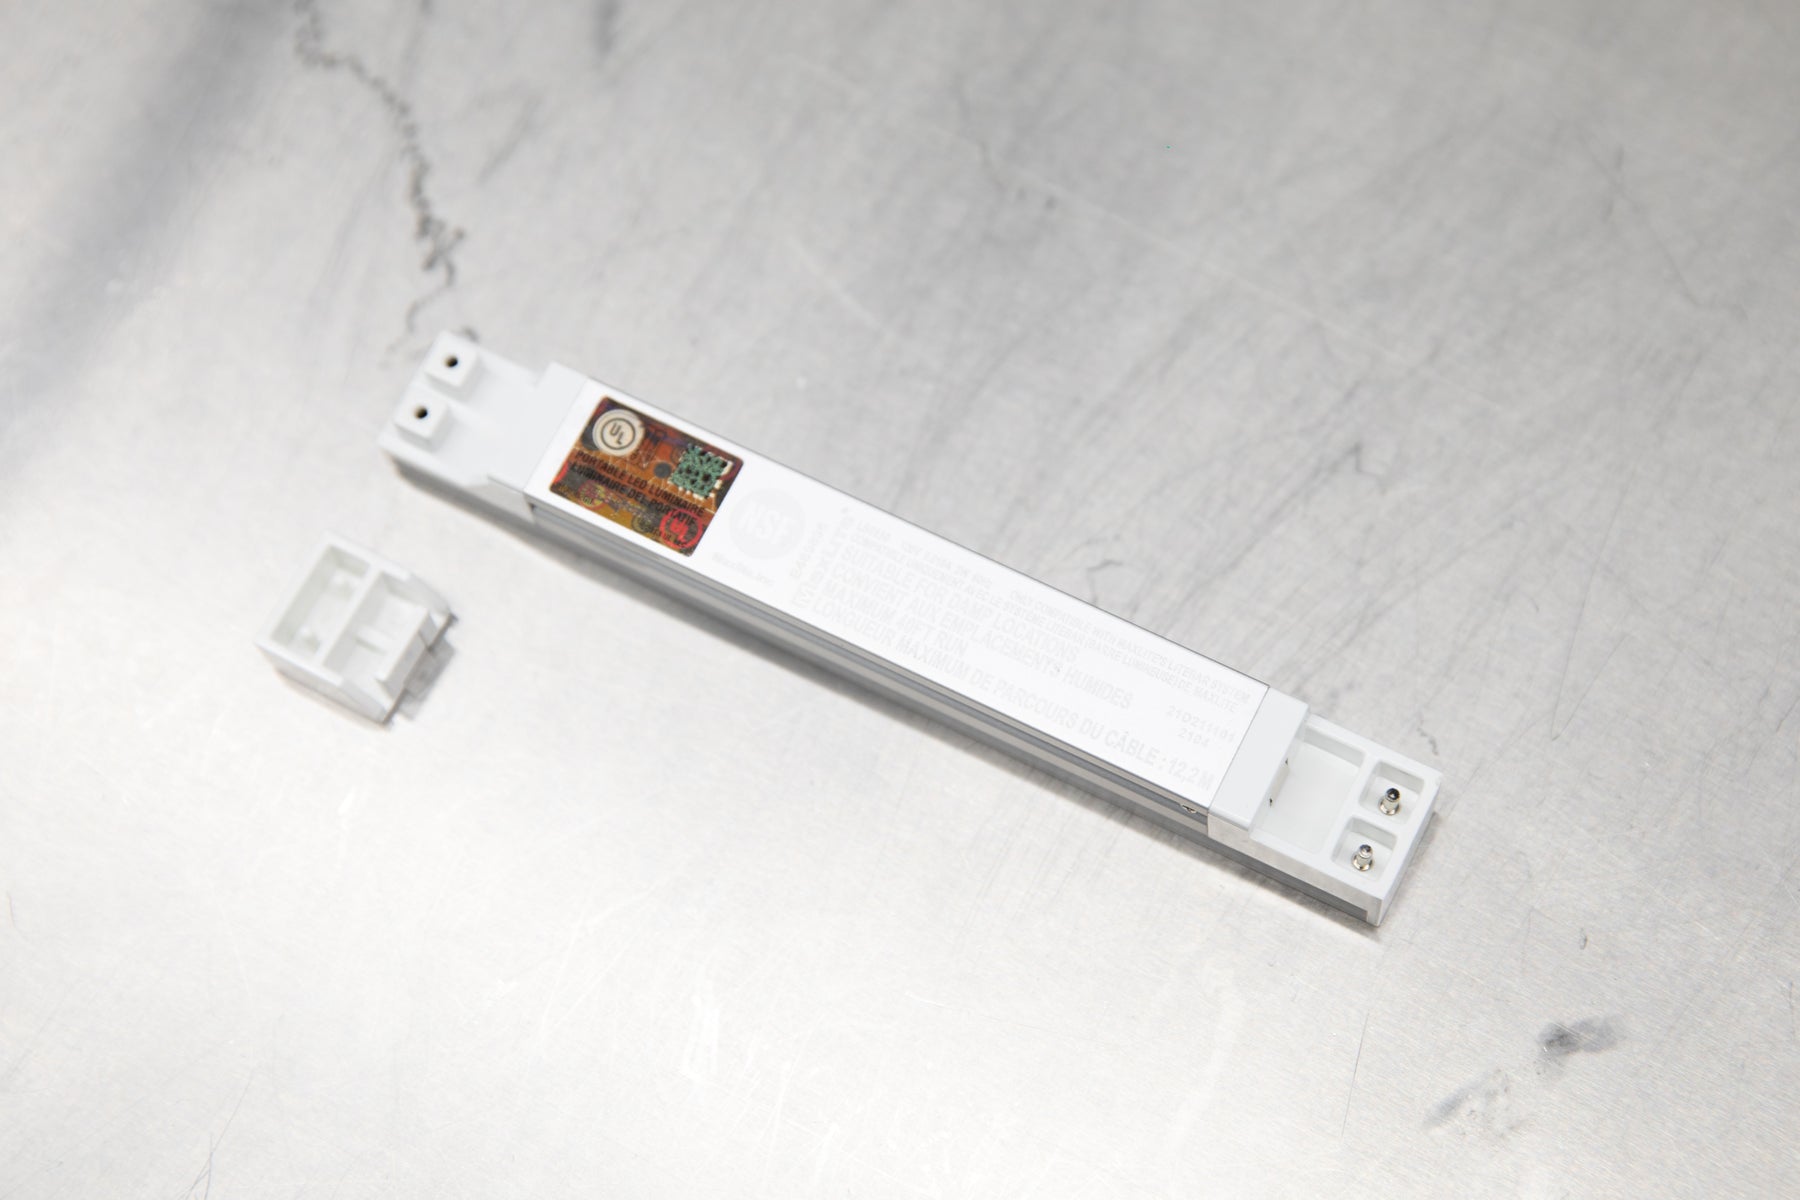
- 120V, 60 Hz
- Made of high quality extruded aluminum
- Linkable up to 40’
- Suitable for damp locations
- Dimensions: 0.74” (19mm) W x 0.78” (20mm) H
- L70 Lifetime: ≥50,000 hrs
- Warranty: 5 Years
Installation Tips
If you haven’t watched the video from the Story tab, please watch it first. This gives you the best idea of what to expect when installing.
If you are installing our under cabinet lighting solution under Saber and Sonic MSS Cabinets, it is recommended that you drill through the sides of the cabinet. This allows you to have an unbroken line of light. You will need to use a step-bit and drill a hole that is 1-⅛” in diameter. For my Saber array at my house, the center of the hole was drilled 2 inches from the front of the cabinet. At the OGHQ Sonic MSS array, the center of the hole is 1-¾” from the front of the cabinet. You can adjust where the hole is drilled if needed based on what you think is best.

I drilled the holes for the lights after the cabinets were already installed. I don’t recommend doing this, especially for the Sonic MSS cabinets. It will be much easier to drill the holes with the cabinets not installed already.
If you are installing these under Sonic MSS+ Cabinets, you won’t need to drill through the cabinets; there is already a hole for the lights to pass through.

Installing the lights themselves and getting them powered up is super simple. These are self-powered and can either be hardwired or plugged into an outlet.

Use the Under Cabinet Light Joiners to connect a series of lights together. Just push the lights into the joiner and you’re good to go.

Use the Magnetic Mounting Clips to hold the lights to the bottom of the cabinet.

This item is shipped from our warehouse at OGHQ in Lady Lake, FL. Shipping costs calculated at checkout.
ETA Information: